Metamask: How to Update Your Token Balance After a Transaction
As you develop your dApps on the Ethereum blockchain, you’ll encounter various scenarios where transactions need to be updated or checked in real-time. One such scenario is updating the token balance of a specific token after a transaction is successfully transferred from one address to another.
In this article, we’ll explore how to achieve this using Metamask, a popular wallet solution for Ethereum-based dApps.
What is Metamask?
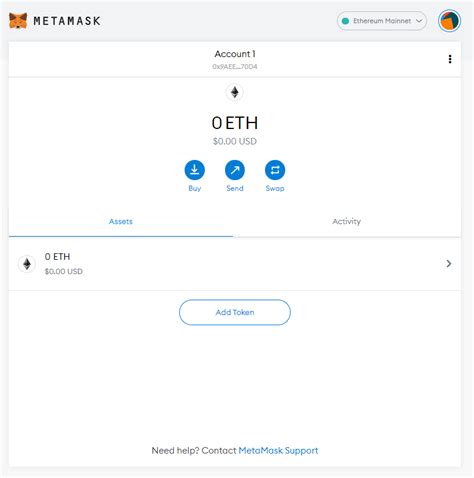
Metamask is a web-based wallet that allows you to interact with the Ethereum network. It provides a secure way to store and manage your cryptocurrency assets, including tokens. With Metamask, you can create accounts, receive new balances, update existing balances, and even send transactions.
Updating Token Balance After Transaction: A Step-by-Step Guide
To update the balance of a token in your wallet after a transaction is successfully transferred, follow these steps:
1. Initialize Metamask
First, initialize Metamask on your machine by running the following command in your terminal:
npx metamask init
This will create a new MetaMask wallet and prompt you to install any necessary dependencies.
2. Create a New Account or Connect an Existing One
If you haven’t already created an account with Metamask, follow these steps:
- Go to the [Metamask website]( and click on “Create new account” (if prompted).
- Alternatively, if you have an existing MetaMask wallet, log in and click on “Connect to MetaMask”.
3. Create a New Token or Connect an Existing One
Once connected, create a new token by clicking on the “+” button next to the “Tokens” tab.
- Enter the name of your token, the symbol (e.g.,
ETHfor Ether), and any other relevant details.
- You can also add custom metadata and images.
To connect an existing token, click on the three dots next to it in the list and select “Connect Token”.
4. Send a Transaction
Now that you have created or connected your token, you can send transactions from Metamask:
- Click on the “Send” button next to the desired recipient.
- Enter the recipient’s address and any necessary parameters (e.g., gas price, transaction hash).
- Set the amount of tokens being sent.
5. Update the Balance
Once the transaction is successfully confirmed by the Ethereum network, you can update the balance of your token in Metamask:
- Click on the “Balance” tab.
- In the “Current Balance” section, you’ll see the updated balance for your token.
Tips and Best Practices
When updating balances after transactions, keep the following tips in mind:
- Always check the transaction details to ensure the correct amount is being transferred.
- Make sure Metamask has permission to read the blockchain data (e.g., gas prices).
- Avoid using public keys or sensitive information without proper authentication.
Conclusion
Updating token balances after a successful transaction on the Ethereum network can be achieved through Metamask, a user-friendly and secure wallet solution. By following these steps, you’ll be able to track your token balance in real-time and make informed decisions about your dApp development projects.
Remember to always follow best practices when interacting with the blockchain, and happy developing!